BGE Product Design · Level 3–4 project
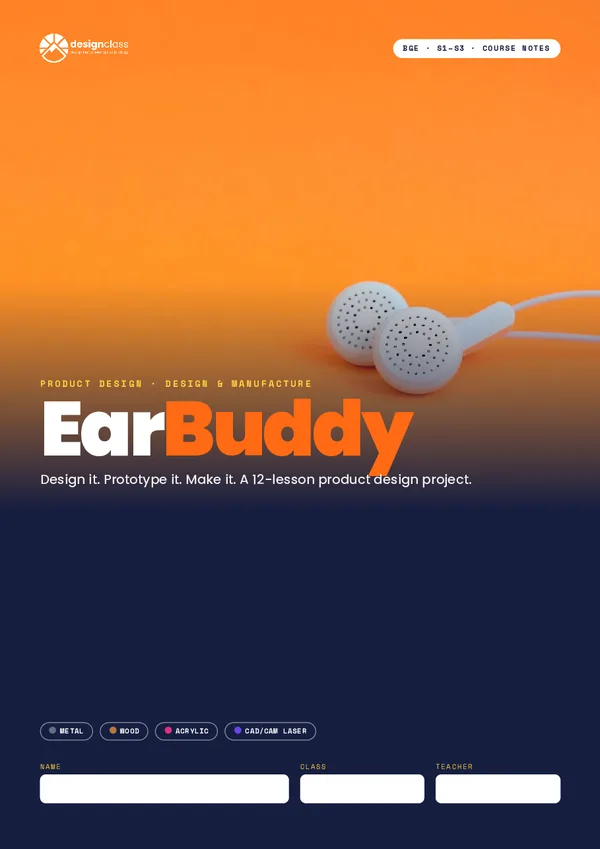
Tangled earphones are a pain. Design and make an ear bud winder that keeps them neat. You will follow the whole design process: write a specification, research, sketch and annotate ideas, test a card prototype, then make your EarBuddy in metal, wood or acrylic, by hand or on the laser cutter.

SCALE 1:1
BGEEarBuddy

SubjectProduct Design
LevelBGE · Level 3–4
LicenceFree to copy, adapt, share
Sheet04.3 · BGE · EarBuddy
01Course notes
Eight lessons, one per page. Each page has the knowledge you need and tasks to complete and record as you go. Print to write on, or fill in the Digital version on screen.
02Worksheets
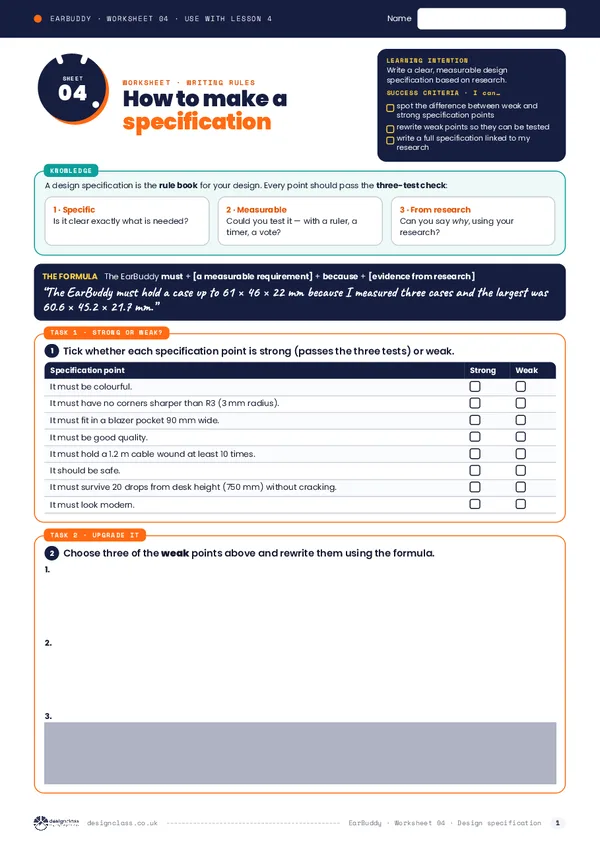
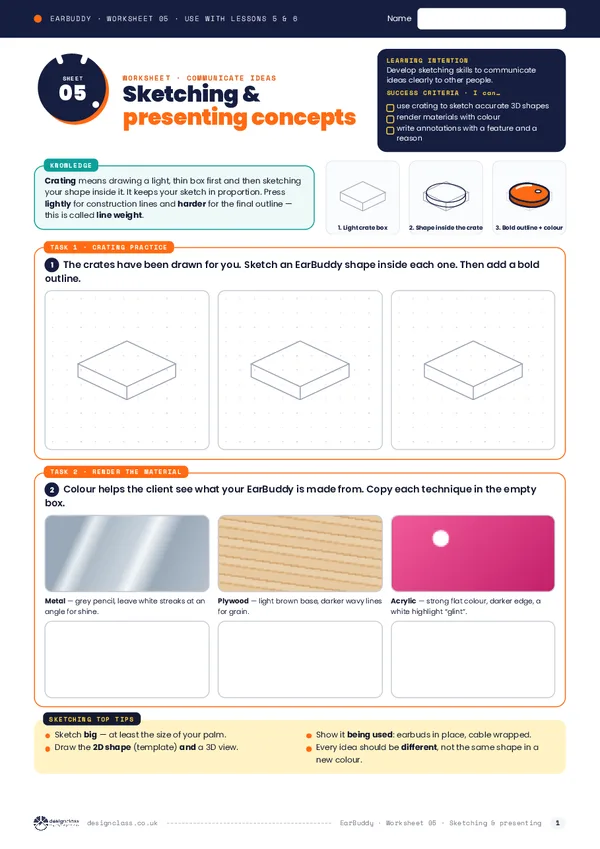
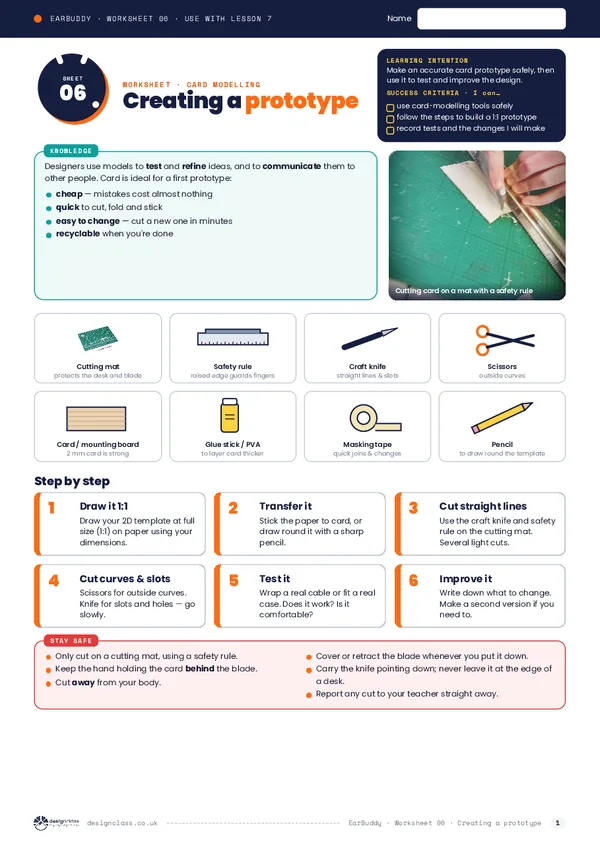
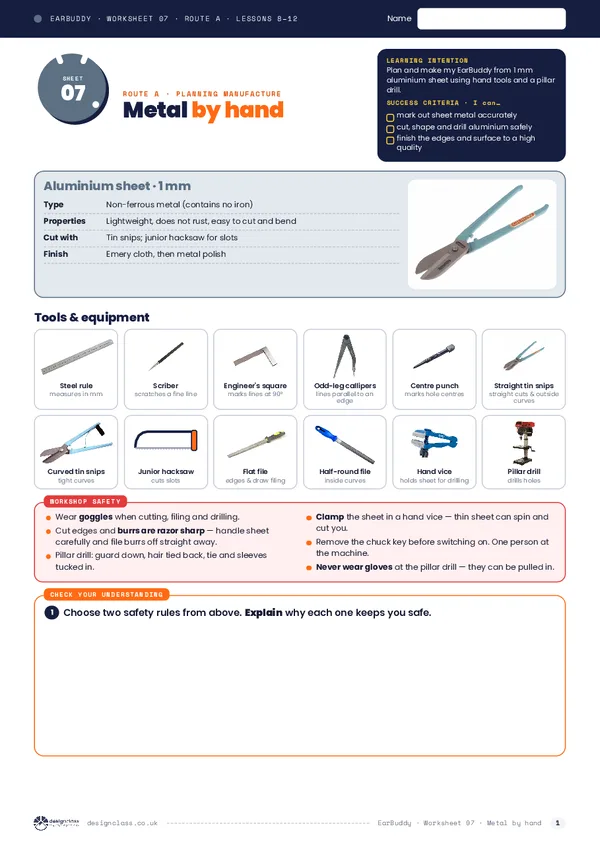
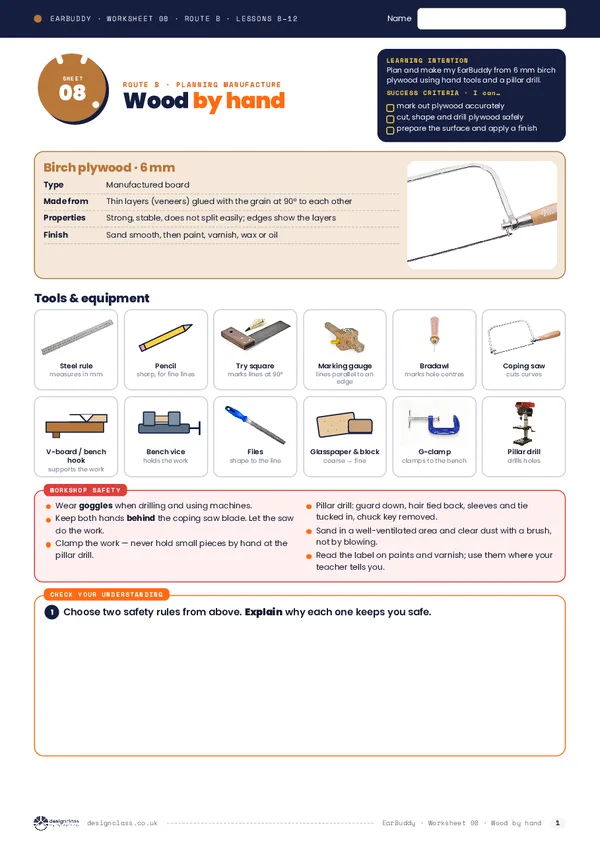
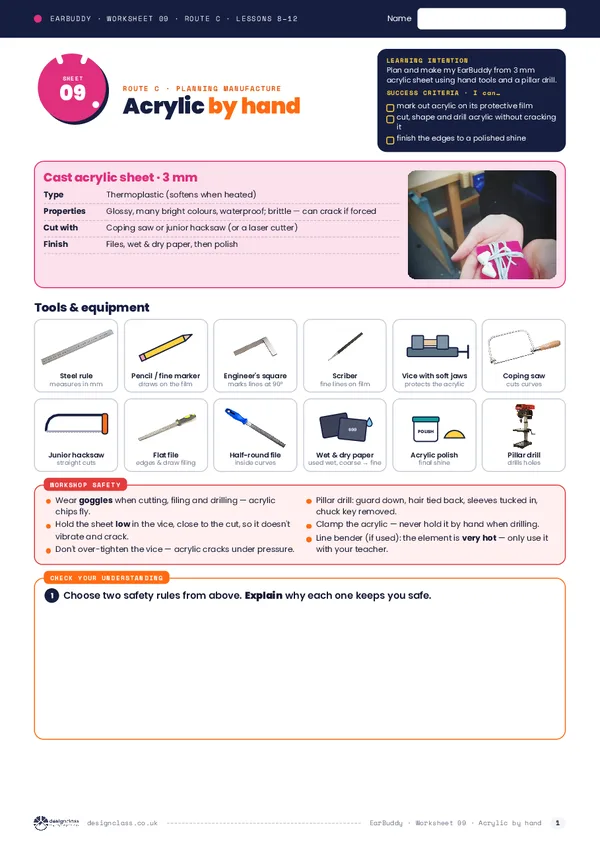
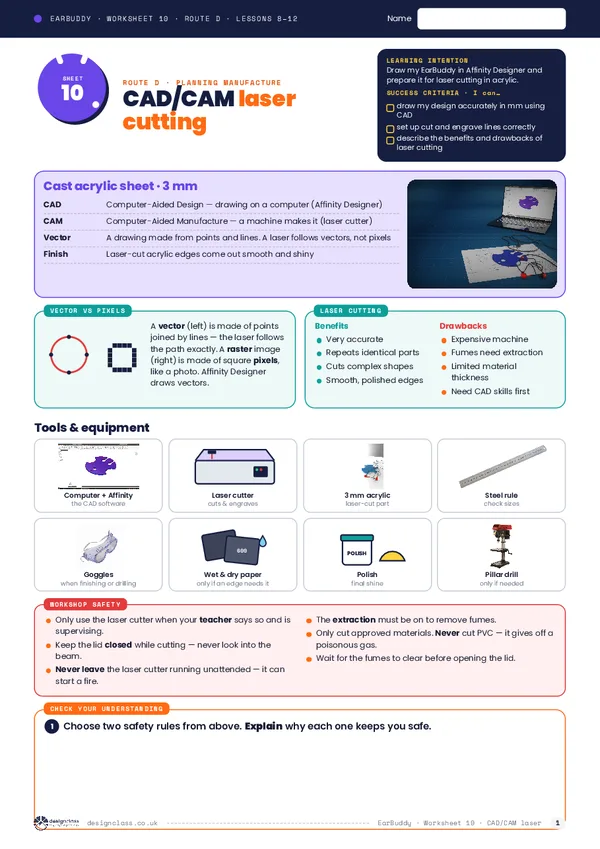
Ten stand-alone worksheets that follow the design process. Worksheets 1–6 are for everyone. For worksheets 7–10, pick the making route that matches how you will make your EarBuddy.
03What you’ll learn
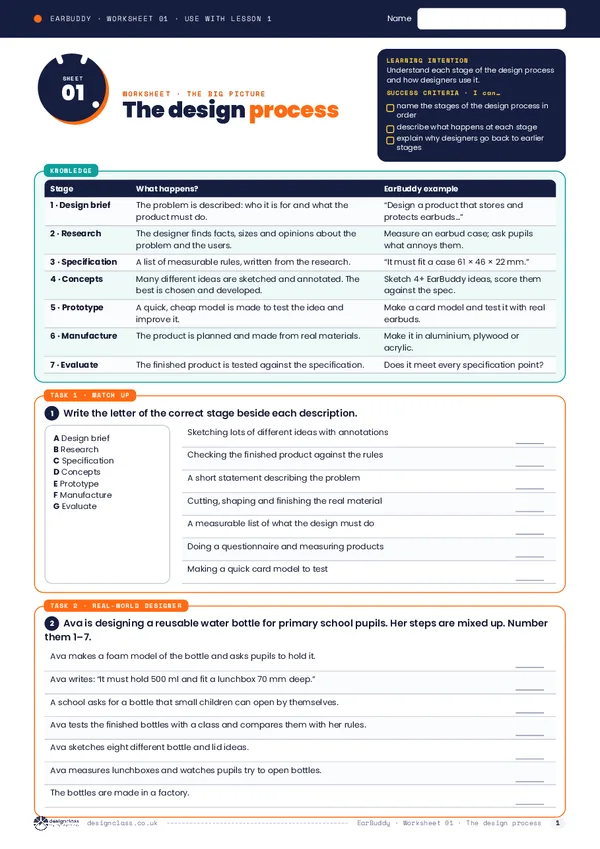
Real designers do not start by making. They start with a problem and a person to solve it for. EarBuddy takes you through the same steps.
01
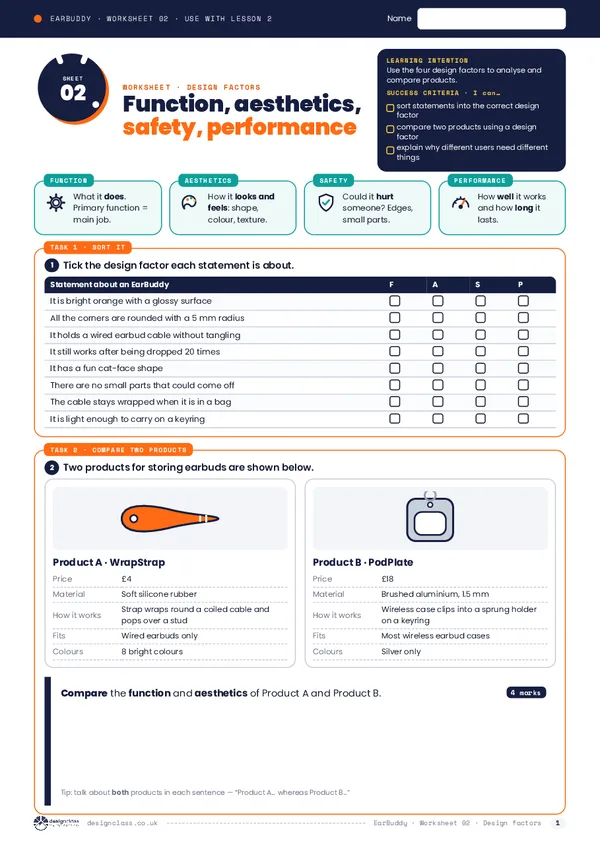
Read a design brief and use the four design factors, function, aesthetics, safety and performance, to judge any product.
02
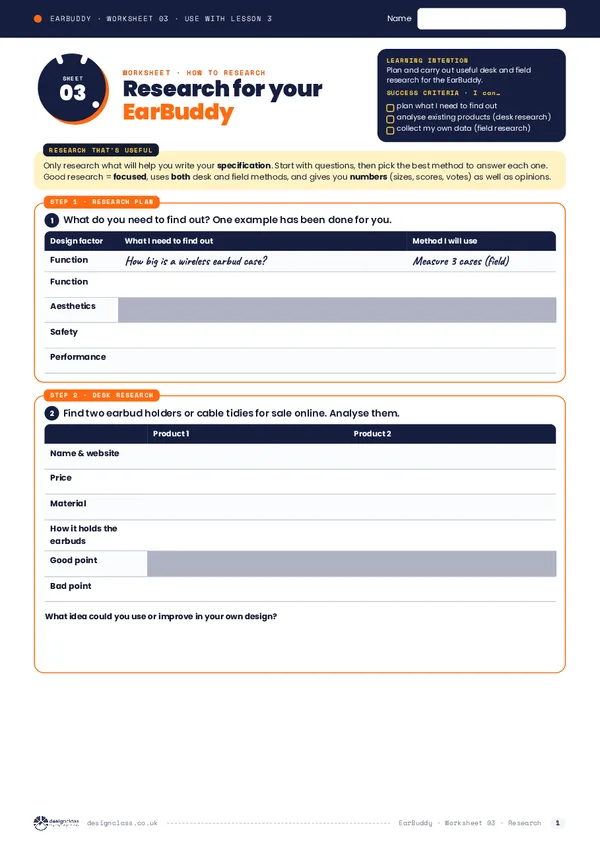
Investigate existing products and the people who will use yours, then turn what you find into a clear design specification.
03
Sketch lots of ideas, annotate them to explain your thinking, then build and test a card prototype before you commit.
04
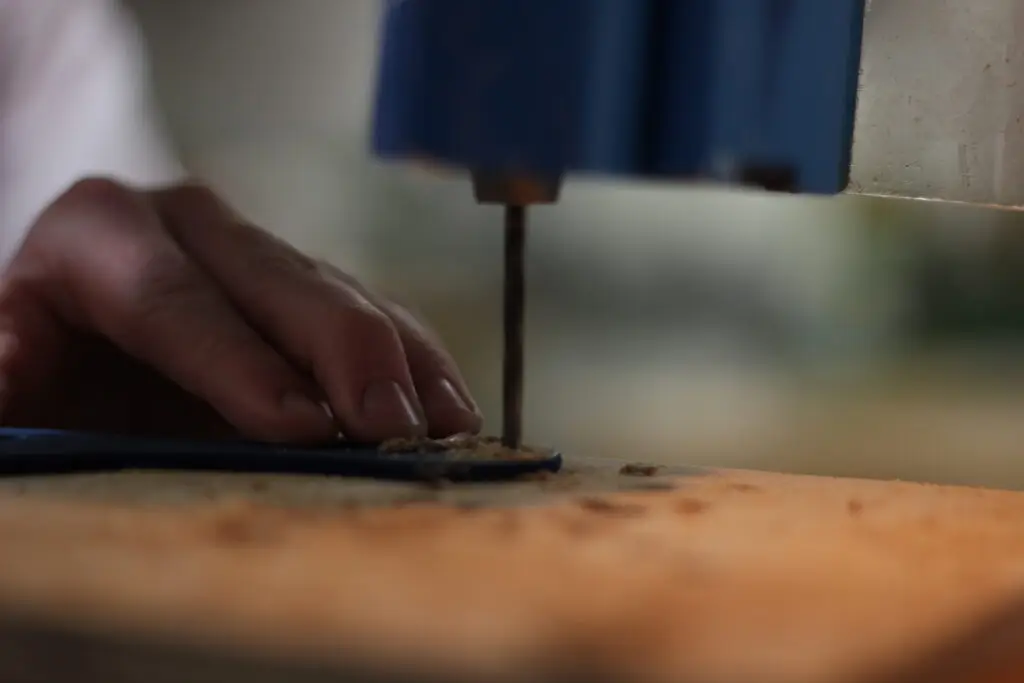
Choose metal, wood, acrylic or CAD/CAM. Mark out, cut, shape, drill on the pillar drill and finish your EarBuddy to a high standard.
04For teachers
PowerPoints for all twelve lessons, each with Learning Intentions and Success Criteria, plus teacher notes covering the booklet and worksheets, three end-of-unit exams with marking instructions. Teacher resources are part of DesignClass teacher membership, which keeps the site free for pupils.
05Keep building
EarBuddy finished? Pick your next project, or see where making goes next.

←
All the Product Design projects for S1–S3.
Back to BGE Product Design →
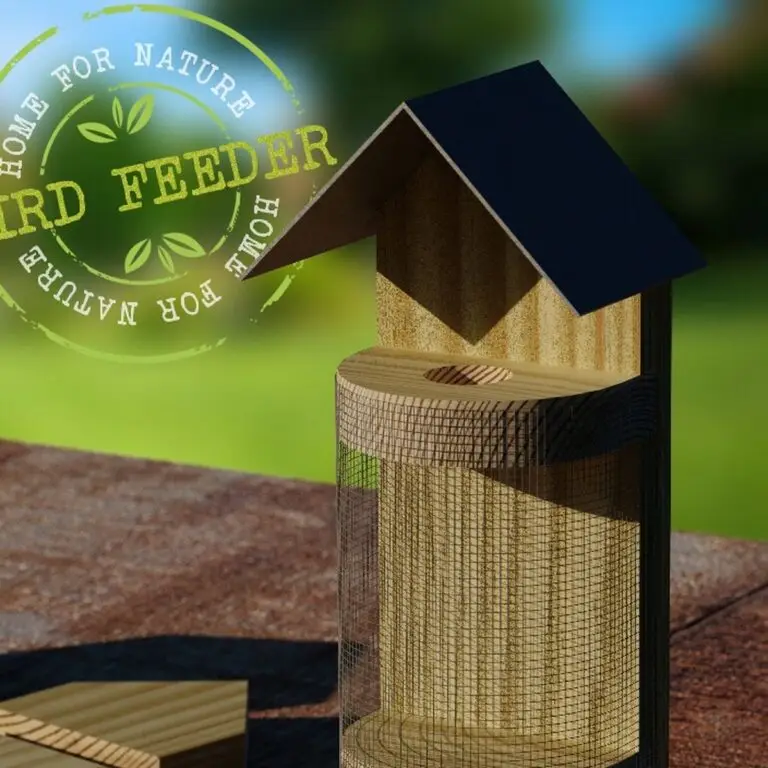
01
Another BGE making project: measure, cut, shape and finish a feeder from wood.
Open Bird Feeder →
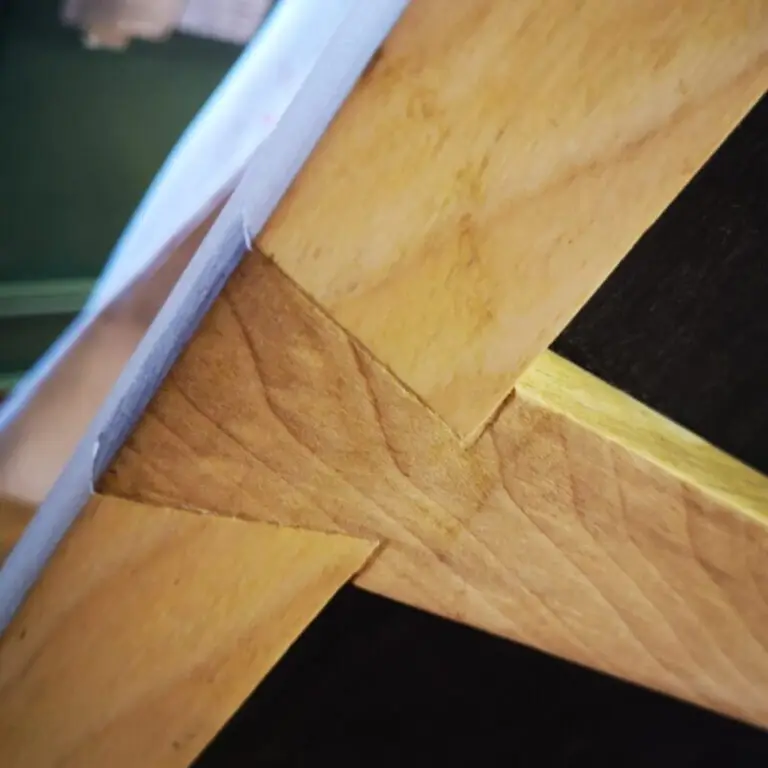
02
Where your workshop skills go next: frames, carcases and machine tools at National 5.
Open N5 Woodwork →
“Have nothing in your houses that you do not know to be useful, or believe to be beautiful.”
William Morris