BGE Graphics · Level 2 project
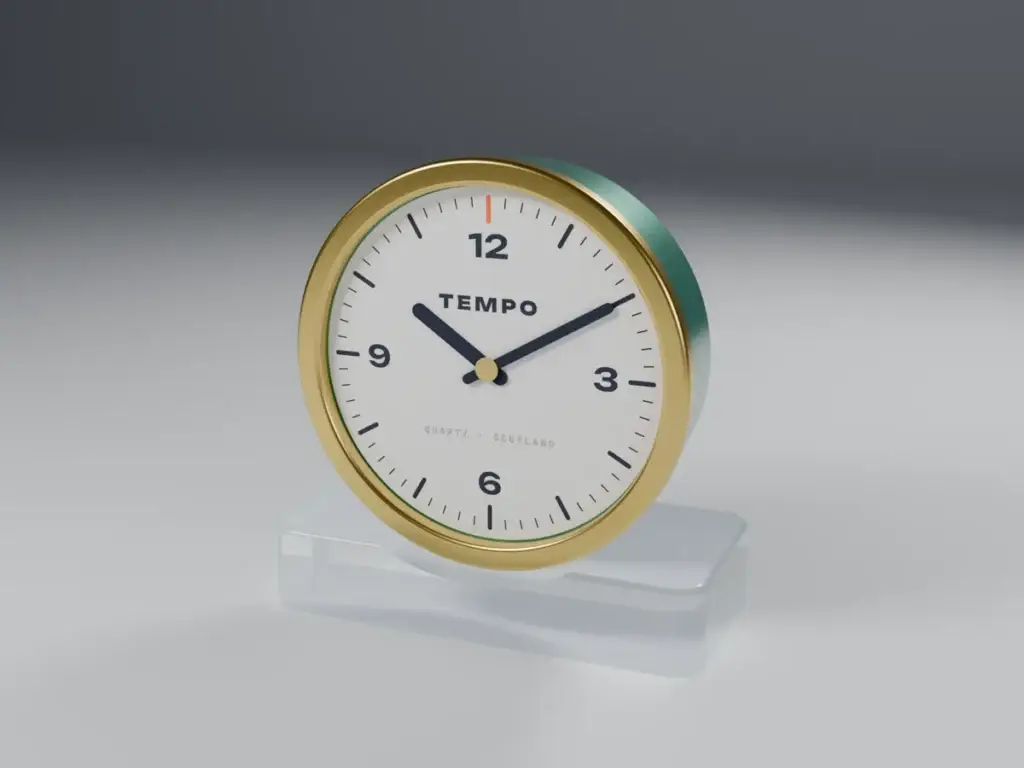
Lights. Camera. Render. Turn a grey CAD model into a photo-real product shot. Four clients have sent you a 3D model and a brief: choose the materials, add their logo, light the studio, frame the shot and save a picture good enough to sell the product. These are the rendering skills you will use in N5 Graphic Communication and N5 Design and Manufacture.

SCALE 1:1
BGERender Studio

SubjectGraphics
LevelBGE · Level 2
LicenceFree to copy, adapt, share
Sheet04.2 · BGE · Render Studio
01Course notes
Twelve pages, six scenes: why we make renders, CAD file types, materials and decals, lights and shadows, camera and render settings, and exporting. Every chapter ends with a YOUR TURN task: questions, tick tables, labelling and space to write. Print it, or download the type-in version to fill in on screen and save with your name. Grey N5 LINK boxes show where each idea comes up again at National 5.
02Client briefs
Each brief comes with a client letter, a materials table, a decal to place and a shot list. Download the brief, the STEP model and the decal for your product, then open them in RenderClass. Your teacher will tell you which brief to start with. A fifth brief, for the Studio Shoot assessment, is in section 04.
03The rendering engine
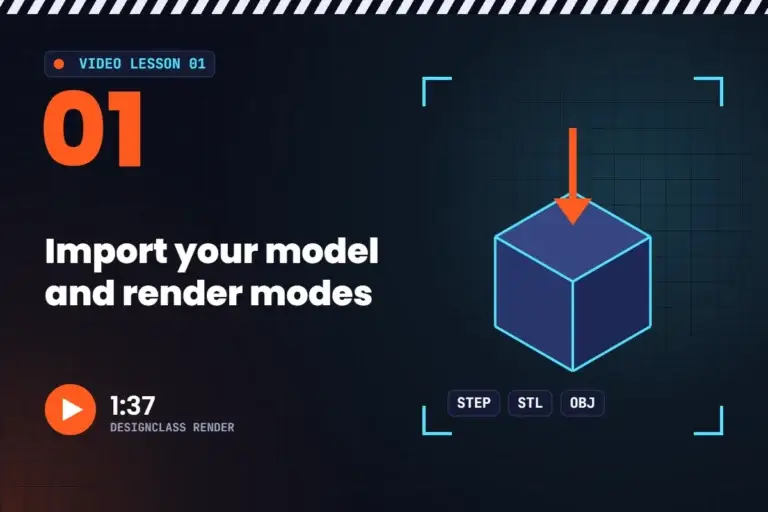
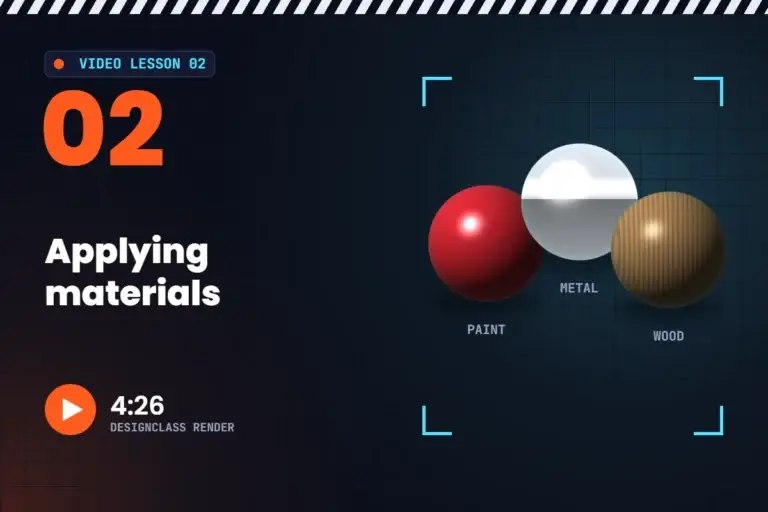
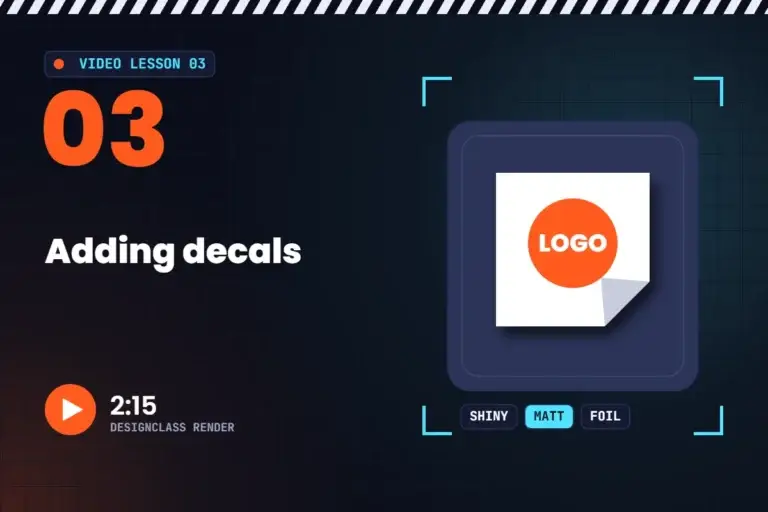
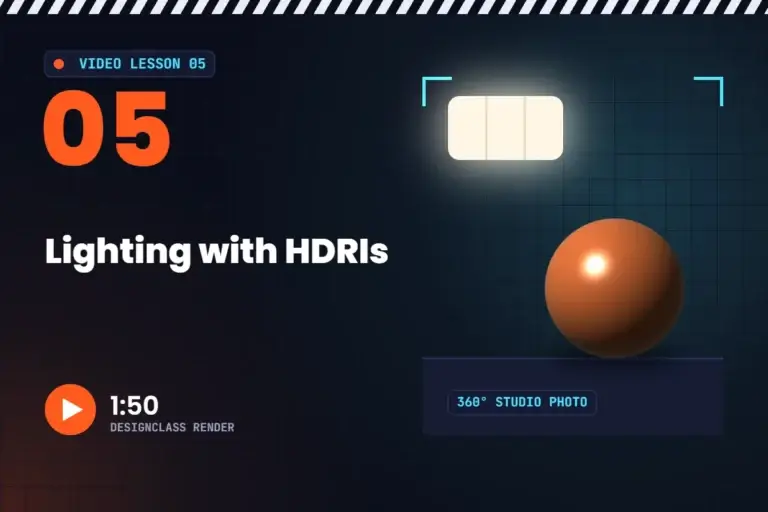
You do not need to install anything. RenderClass is a real ray tracer that runs on your school computer, in the browser. Open it, load your client’s STEP file, and work through the five steps. Not sure how? Watch the short video lessons below.
RUNS IN YOUR BROWSER · NOTHING IS UPLOADED
Our own ray-traced renderer. Open your STEP, STL or OBJ model, choose what each part is made of, add stickers, set up the camera and studio lights, and save a PNG. One-click lighting recipes, a curved studio backdrop and project files let you carry on next lesson. Your model never leaves your computer.
Open RenderClass ↗Get a model first ↑Watch the videos ↓
Use Chrome or Edge on a Windows PC. The first visit downloads about 15 MB, then it is saved for next time. Not designed for iPads or Chromebooks.
 RENDERING · PASS 160 / 160
▶Video lessons
Six short videos show every step, from loading your model to saving the finished picture. They were recorded in the earlier DesignClass Render, so a few buttons in RenderClass look a little different. Watch one, pause it, try the same thing on your client brief, then move on to the next. About 15 minutes in total, free, and no login needed.
04Practical assessment
Show everything you have learned. A new client, Simmer Dim Lighting from Shetland, needs renders of its designer table lamp: oak, aluminium, brass and a plastic shade. Make a hero shot and one more render from the shot list, then a presentation page that explains your choices with key words. The task sheet shows exactly how the 40 marks are given, with a self-check column.
05What you’ll learn
Rendering is how designers show a product before it exists. Every skill here links to a National 5 course: look out for the grey N5 LINK boxes in your booklet.
01
Explain why designers use renders instead of prototypes, and choose between native files, STEP, STL and OBJ.
02
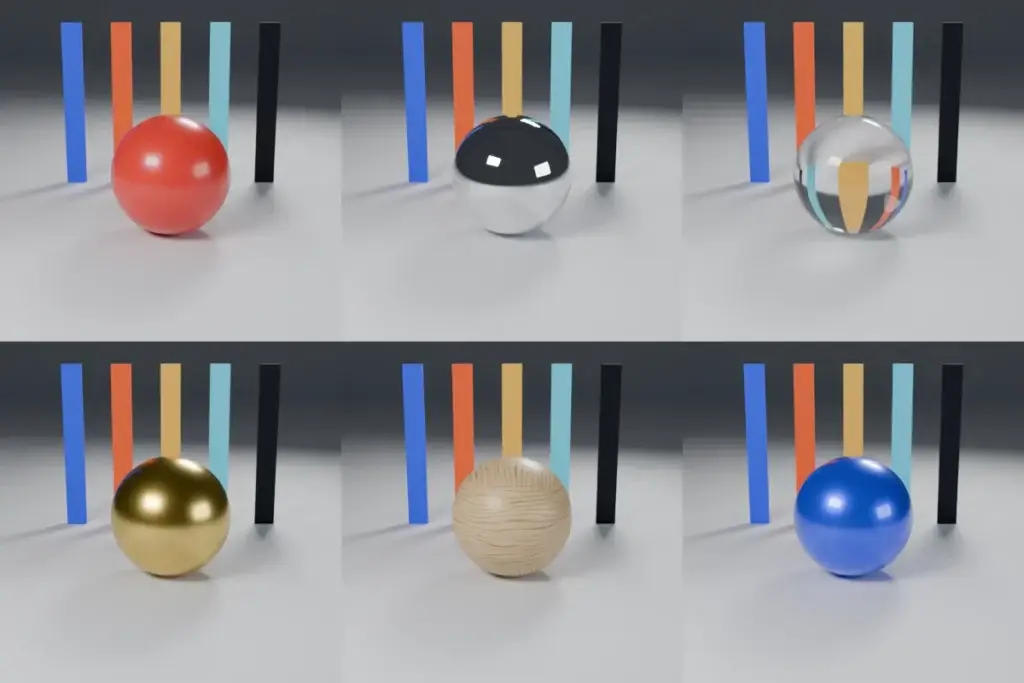
Shiny or matt, metal or not, transparent or translucent. Choose real materials such as ABS, acrylic, brass and oak, and place a PNG decal.
03
Three-point lighting, soft shadows, HDRI studios and contact shadows. Then viewpoint, lens, depth of field and composition.
04
How a ray tracer works: passes, noise, light bounces and resolution. Save a lossless PNG, with a see-through background when you need one.
06For teachers
Everything you need to run the project: a teacher guide with a scheme of work, curriculum links and set-up notes for the rendering engine, model answers for every course notes task, five lesson PowerPoints with speaker notes, a 40-mark knowledge test (print and type-in) with marking instructions, the Studio Shoot marking rubric and feedback slips, and exemplar renders. Teacher resources are in the Teacher Portal for DesignClass members.
Teacher membership
Members get the lesson slides, answers, assessments and marking schemes for every DesignClass project, plus early access to new projects. Membership is £5 a month or £50 a year, and it keeps DesignClass free for every pupil in Scotland.
07Keep building
Renders looking sharp? Try another BGE Graphics project, or see where rendering goes at National 5.
←
All the BGE Graphics projects for S1–S3, from sketching to CAD.
Back to BGE Graphics →
01
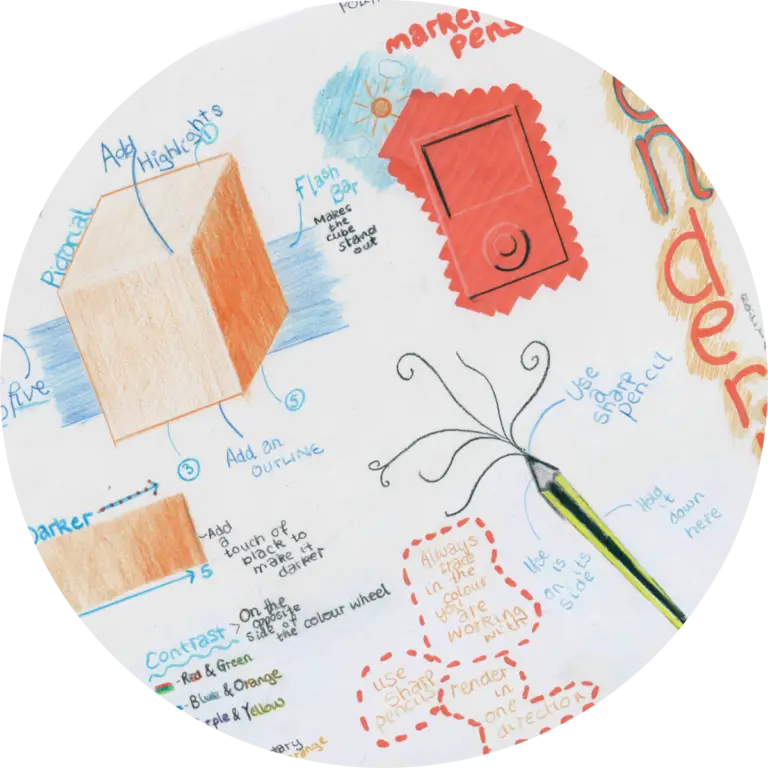
Ten levels of sketching, from straight lines to rendered pictorial sketches.
Open Sketching 101 →
02
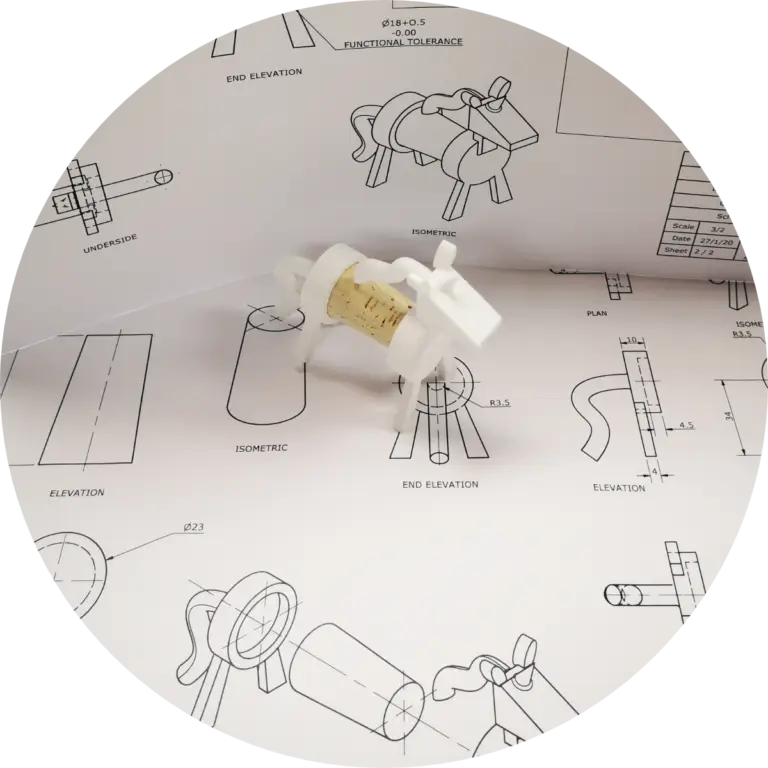
Illustration, CAD and promotional graphics at National 5: where this project leads.
Open N5 Graphics →
“Lights. Camera. Render.”
Render Studio, DesignClass